Begin your collection with 15% off your first publication — Use code: WELCOME15
How to Start a Junk Journal from Scratch
— A Beginner's Guide to the Most Joyful Craft You've Never Tried
GETTING STARTED/BASICS
Sandy Lowdermilk
5/20/20264 min read
Have you ever looked at a beautiful junk journal on Pinterest and thought
"I could never make something like that"?
I'm here to tell you — yes, you absolutely can. And more than that, you're going to love every single messy, layered, gloriously imperfect minute of it.
Junk journaling is one of those rare crafts that has no rules, no right way, and no wrong answer. It's part scrapbooking, part art journal, part treasure chest — and it's waiting for you. Let me show you exactly how to get started.
What Exactly IS a Junk Journal?
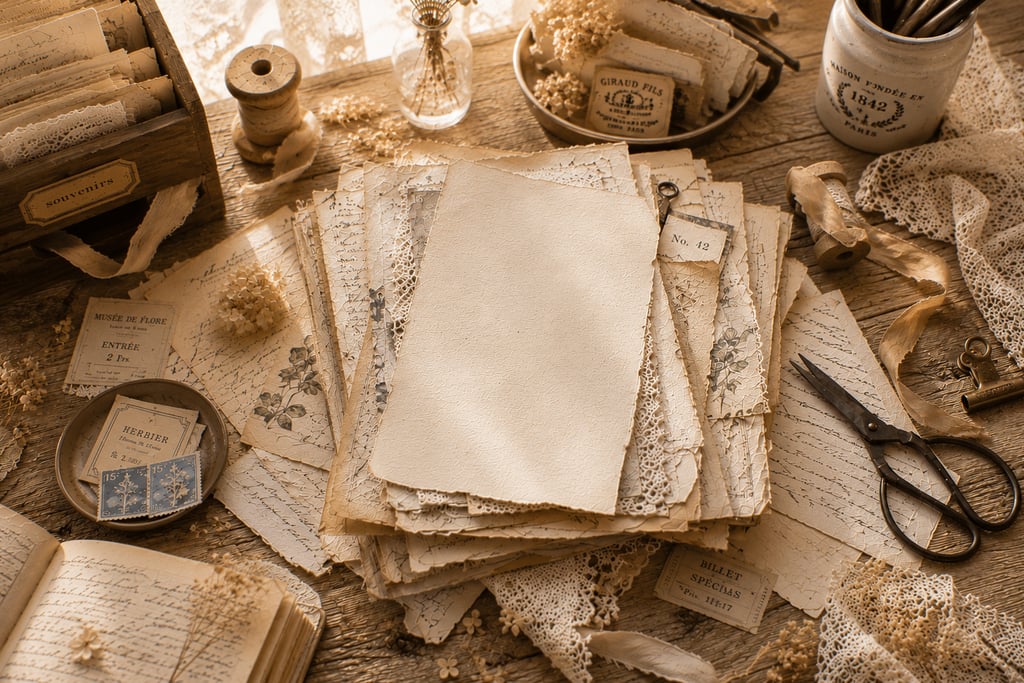
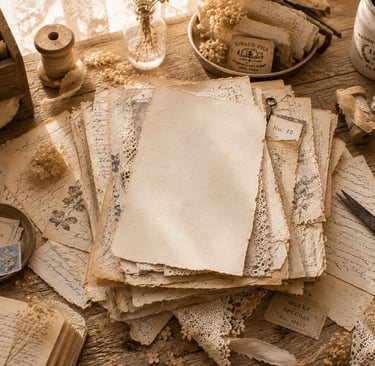
A junk journal is a handmade book filled with layered papers, vintage ephemera, tags, pockets, tickets, images, and anything else that speaks to you. The pages tell stories — sometimes yours, sometimes imagined ones. They're tactile, personal, and completely one-of-a-kind.
The word "junk" is a little misleading, honestly. There's nothing junky about them. The name comes from the tradition of using recycled and repurposed materials — old book pages, paper bags, vintage sheet music, envelopes, packaging — layered together into something unexpectedly beautiful.
Think of it as a scrapbook that went to art school and never looked back.
What You'll Need to Get Started
The beauty of junk journaling is that you don't need much to begin. Here's a simple starter list:
Your journal base
This is the book or binder your pages will live in. Beginners often start with:
A composition notebook
A hard cover book from a thrift store
A simple chipboard cover you make yourself
Don't overthink this. Any bound book with pages you can layer over will work beautifully.
Papers and ephemera
This is where the magic happens — and where most beginners fall deliciously down the rabbit hole. You're looking for:
Vintage book pages
Old sheet music
Kraft paper and brown paper bags
Tissue paper
Old maps, ledger paper, dictionary pages
Decorative papers and printable kits (more on those in a moment!)
Basic supplies
Scissors and a craft knife
Glue stick or Mod Podge
Washi tape
Watercolor paints or ink pads
A few stamps
Pens and markers
That's genuinely all you need to make your first page. Everything else — and there will be more, trust me — comes with time and joy.
The Fastest Way to Get a Cohesive Look: Printable Kits
Here's the secret that took me years to learn and that I now build my entire studio around:
The hardest part of junk journaling isn't the creating. It's the curating.
Pulling together papers, ephemera, tags, and pockets that all feel like they belong together — that have the same mood, the same color story, the same aesthetic soul — takes time, a good eye, and a lot of trial and error.
That's exactly why printable junk journal kits exist. And why I designed every single one in my studio with this problem in mind.
A good printable kit gives you an entire coordinated collection — journal papers, ephemera pieces, tags, pockets, and embellishments — that were designed to work together from the very first sketch. You print them at home, cut them out, and suddenly you have a beautiful, cohesive pile of materials ready to layer into your journal.
No hunting. No mismatched colors. No "why doesn't this work?" Just creating.
If you're just starting out, I'd suggest beginning with one kit in a style that speaks to you. My Shabby Chic Printable Junk Journal Bundle is a wonderful place to start — it includes seven coordinating kits across a dreamy vintage palette, so your pages will look intentional and layered from day one.
How to Make Your First Junk Journal Page
— Step by Step
Ready to actually sit down and make something? Here's how your first page might go:
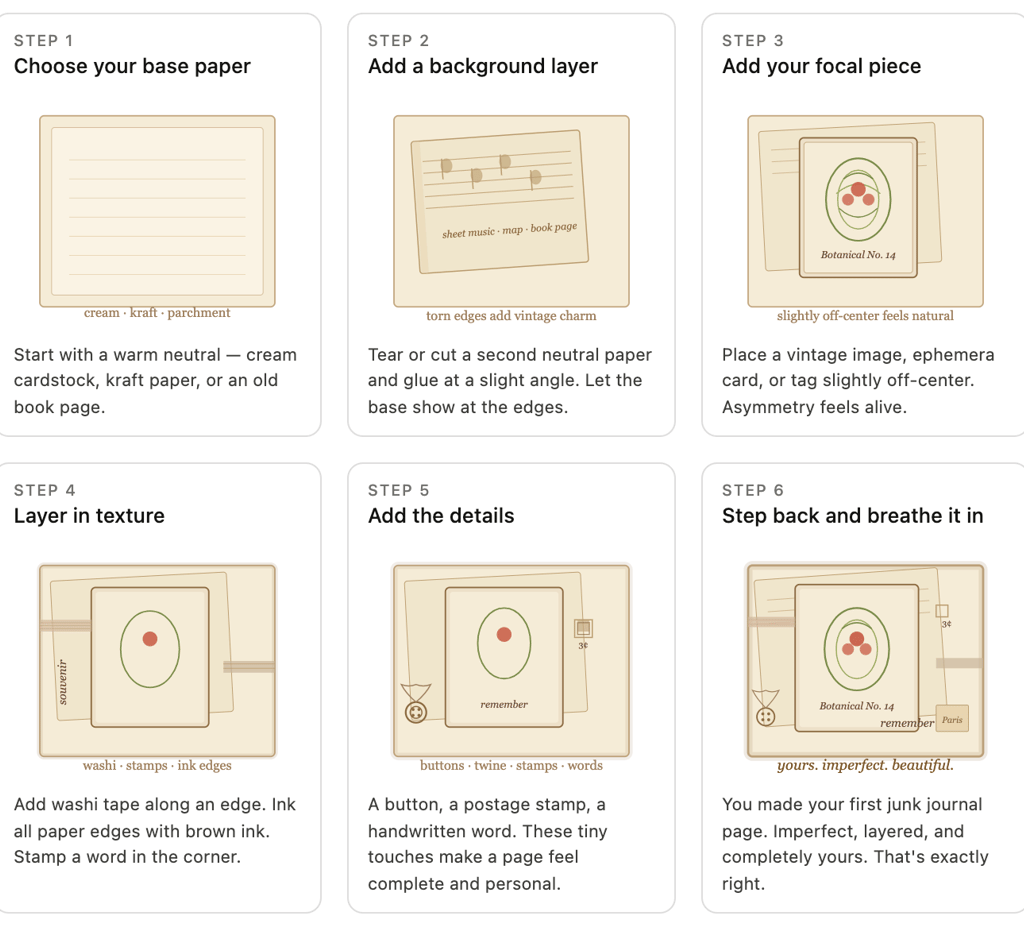
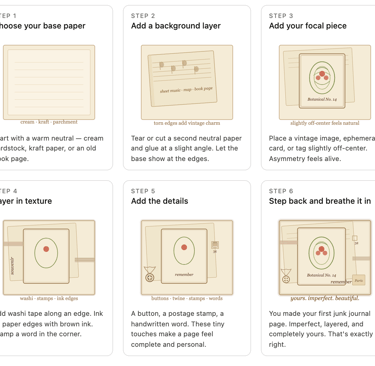
Step 1 — Choose your base paper Start with a slightly heavier paper as your page base — a piece of kraft paper, an old book page, or a sheet from your printable kit. This is your canvas.
Step 2 — Add a background layer Tear or cut a piece of vintage sheet music, a dictionary page, or a decorative paper and glue it down. Don't cover everything — let some of the base show through. This layering is what gives junk journal pages that wonderful depth.
Step 3 — Add your focal piece This might be a vintage image, a printable ephemera card, a beautiful tag, or a pocket. Place it slightly off-center. Junk journaling loves asymmetry.
Step 4 — Layer in texture Add washi tape along an edge. Tear the border of a piece of tissue paper and glue it underneath something. Stamp a word or image in the corner. Ink the edges of your papers with a brown ink pad for that aged, worn look.
Step 5 — Add the details Buttons, twine, a handwritten word, a small piece of lace, a postage stamp. These finishing touches are what make a page feel complete and deeply personal.
Step 6 — Step back and breathe it in You just made your first junk journal page. It's imperfect and layered and completely yours. That's exactly right.
The Golden Rules of Junk Journaling
Before I send you off to your craft table, here are the only rules worth keeping:
There are no mistakes — only happy accidents. A glob of glue, a torn edge, a smudged stamp — these are not errors. They are texture. Lean into them.
Imperfection is the point. The worn edges, the uneven cuts, the layers that don't quite line up — that's what makes a junk journal page feel alive rather than printed.
You don't need permission to begin. Not more supplies, not more practice, not more confidence. Just a piece of paper and something to glue to it.
Your taste will always be ahead of your skills — and that's a good thing. It means you'll always be growing, always reaching for something a little more beautiful than what you made last time.
Ready to Begin?
If this post has you itching to get your scissors out — good. That feeling is exactly right. Follow it.
Browse the Star Phoenix Studio collection for beautifully coordinated printable kits designed to make your first — and your hundredth — junk journal page feel effortless and inspired.
And if you'd like a free printable page to get you started, sign up for the Studio newsletter here and I'll send one straight to your inbox. Consider it my welcome gift to you.
Now go make something wonderful.
— Sandy ✨
Loved this post? Save it to your Pinterest boards and share it with a crafty friend who needs a new obsession!